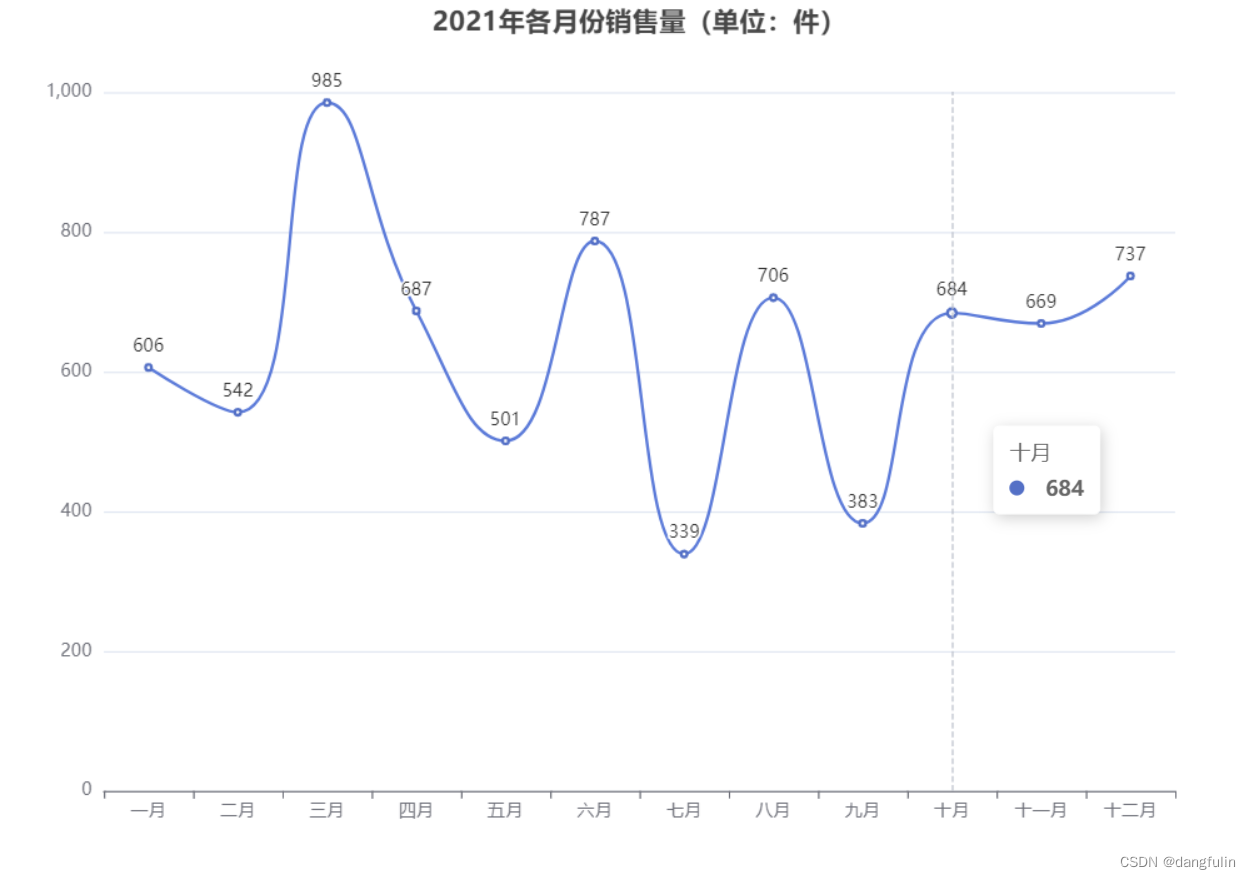
本文实例为大家分享了vue+echarts实现数据实时更新的具体代码,供大家参考,具体内容如下
今天在管理后台新增一个图表,用了echarts,记录一下
根据数据实时更新
安装
npm install echarts --save
然后在main.js中配置一下
import echarts from 'echarts'
Vue.prototype.$echarts = echarts
可以了,接下来就是在你需要用的页面写了
// html 宽高还是尽量固定吧,不然会出现一些奇奇怪怪的问题
<div id="previewChart" :style="{width: '600px', height: '600px'}"></div>
data () {
return {
echartUser: '',
echartRegistered: '',
echartOnline: '',
}
}// js
// 这个是一个漏斗图
drawLine () {
let previewChart = this.$echarts.init(document.getElementById('previewChart'))
previewChart.setOption({
color: ['#4f8f98', '#233541', '#b32124'],
title: { text: '漏斗图' },
tooltip: {
trigger: 'item',
formatter: "{a} <br/>{b} : {c}人"
},
toolbox: {
feature: {
dataView: {readOnly: false},
restore: {},
saveAsImage: {}
}
},
series: [
{
name:'数据统计',
type:'funnel',
left: '10%',
top: 60,
//x2: 80,
bottom: 60,
width: '80%',
// height: {totalHeight} - y - y2,
min: 0,
max: 100,
minSize: '0%',
maxSize: '100%',
sort: 'descending',
gap: 2,
label: {
show: true,
position: 'inside'
},
labelLine: {
length: 10,
lineStyle: {
width: 1,
type: 'solid'
}
},
itemStyle: {
borderColor: '#fff',
borderWidth: 1
},
emphasis: {
label: {
fontSize: 18
}
},
// 更新数据的时候,更新的是这个位置的数据
data: [
{value: this.echartUser, name: '用户人数'},
{value: this.echartRegistered, name: '注册人数'},
{value: this.echartOnline, name: '在线听力测试人数'},
]
}
]
})
},// 获取数据
getTable () {
let startTime = this.searchMsg.startTime
let endTime = this.searchMsg.endTime
let channel = ''
previewList(startTime, endTime, channel).then(resp =>{
if (resp.errCode == 0) {
// 在这个位置使用nextTick
// 漏斗图数据
this.$nextTick( ()=>{
this.echartRegistered = resp.data.previewCount.phoneCount
this.echartUser = resp.data.previewCount.createCount
this.echartOnline = resp.data.previewCount.testCount
// 方法一,直接调用前面定义的drawLine()方法,然后给这个方法传参,然后在方法里面吧需要动态改变的地方替换成传参的这个变量达到动态改变数据的目的
this.drawLine(this.echartRegistered , this.echartUser, this.echartOnline)
// 方法二 ,最笨的办法,重新写一遍实例化echarts的方法咯
let previewChart = this.$echarts.init(document.getElementById('previewChart'))
previewChart.setOption({
series: [{
data: [
{value: resp.data.previewCount.createCount, name: '用户人数'},
{value: resp.data.previewCount.phoneCount, name: '注册人数'},
{value: resp.data.previewCount.testCount, name: '在线听力测试人数'},
]
}]
})
})
}else {
this.$message.error(resp.msg)
}
})
},搞定,这样子就不用在去定义watch方法了,简单粗暴的完成了vue + echrats的数据实时更新。
以上就是本文的全部内容,希望对大家的学习有所帮助,也希望大家多多支持阿兔在线工具。


